<
>
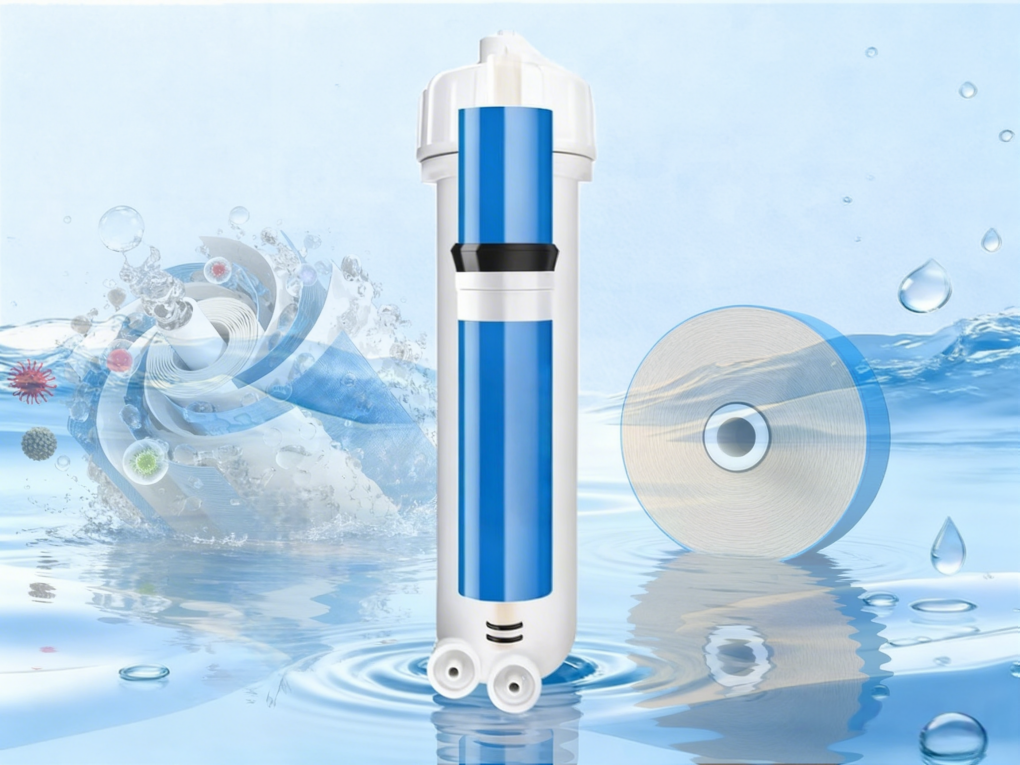

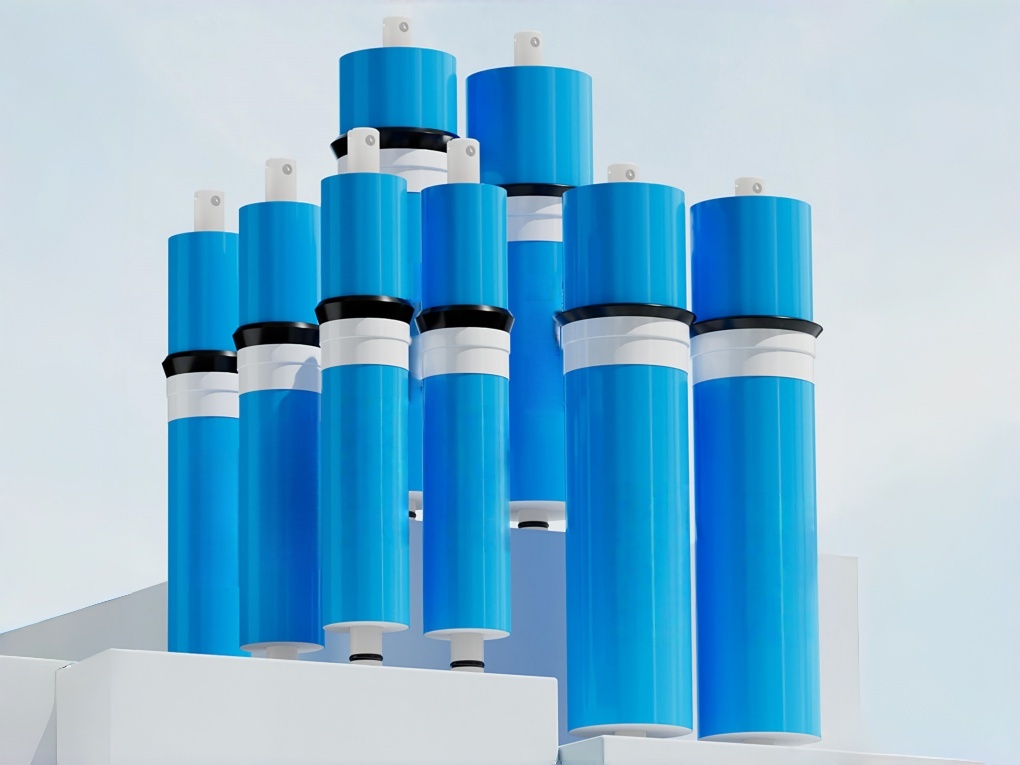
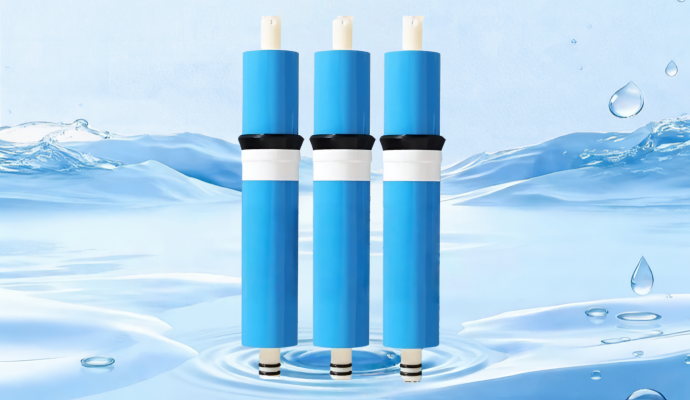
This reverse osmosis membrane and housing assembly is designed for residential and commercial water purification systems. With multiple capacity options ranging from 50G to 800G, it is compatible with most water purifier brands on the market.
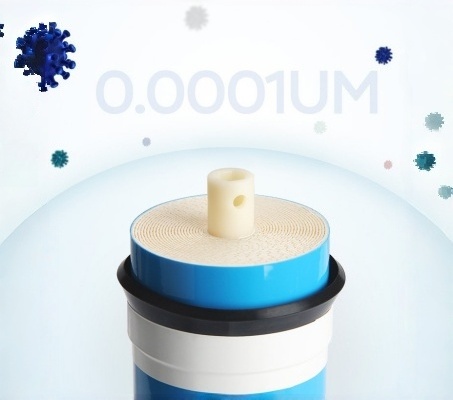
Using advanced reverse osmosis technology, the membrane achieves a 96%–98% salt rejection rate under test conditions of 250ppm feed water TDS and 60 PSI pressure. With a filtration precision of 0.0001 micron, it effectively removes bacteria, viruses, heavy metals, and dissolved contaminants from water.
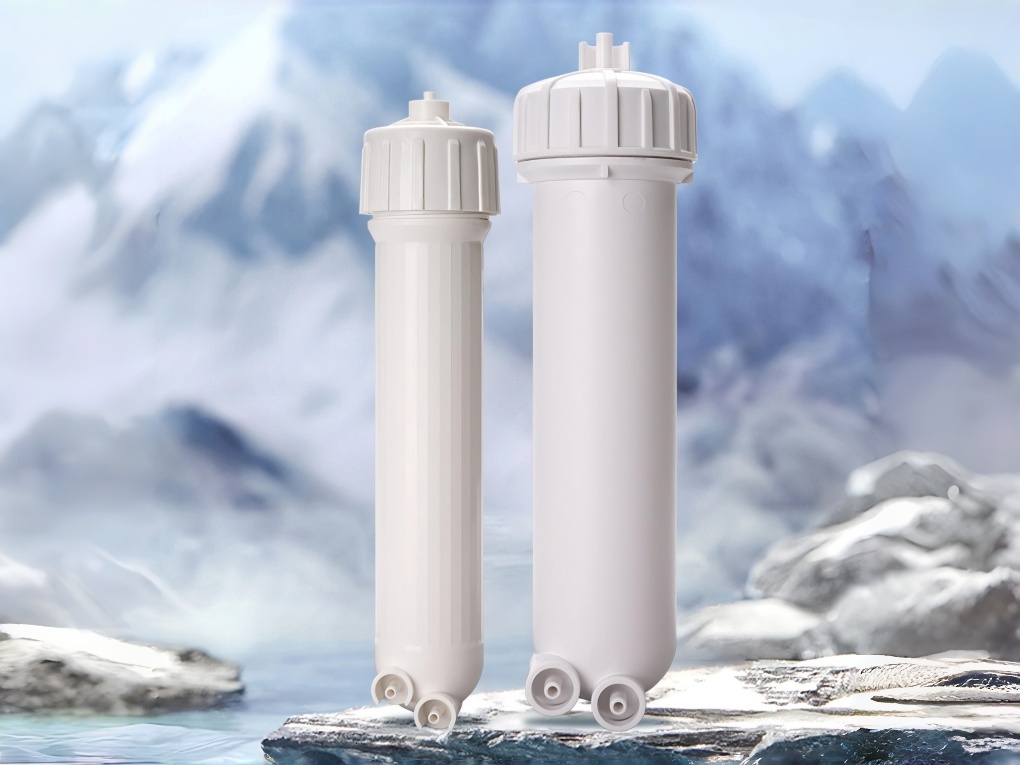
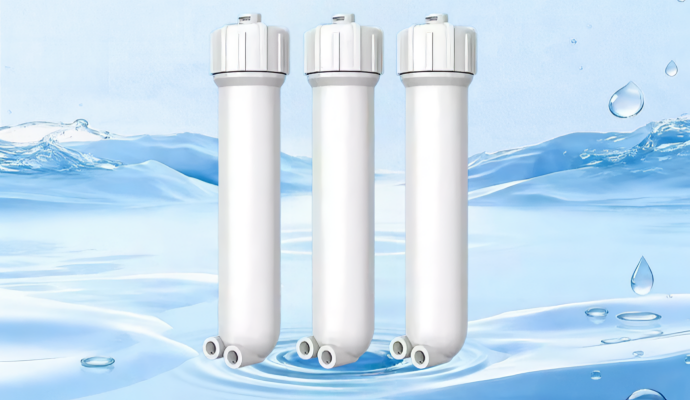
Combined with a high-strength food-grade PP (polypropylene) RO housing, the system offers reliable sealing and easy installation, making it suitable for household kitchen purification systems, small commercial water filtration equipment, and centralized water treatment systems.
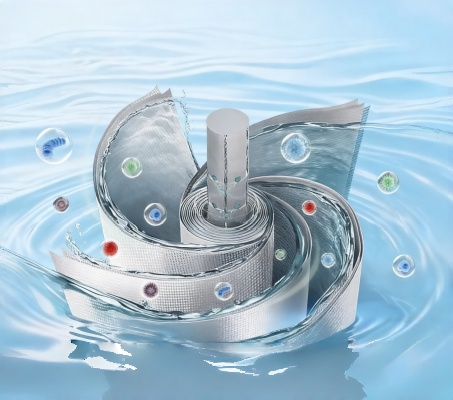
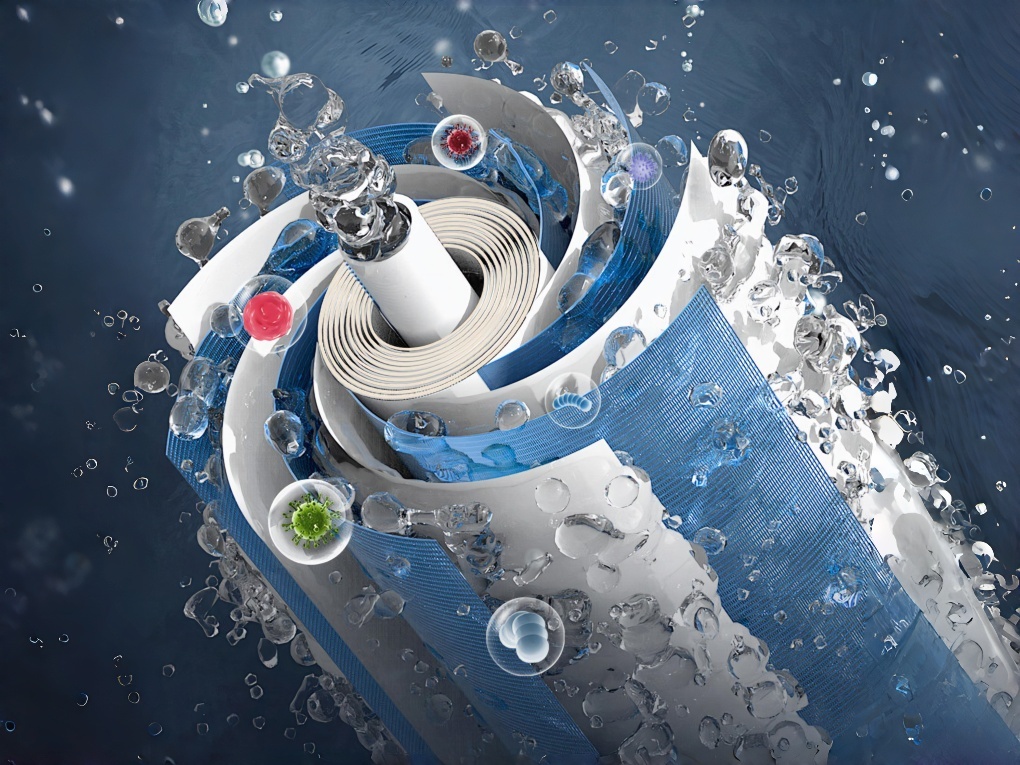
Ultra-Fine 0.0001 Micron Filtration
High-precision RO membrane
effectively removes bacteria, viruses, heavy metals,
and dissolved contaminants for safe drinking water
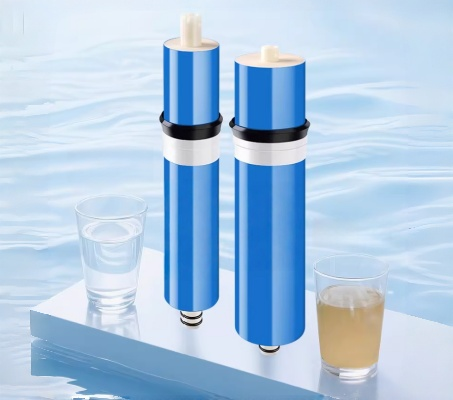
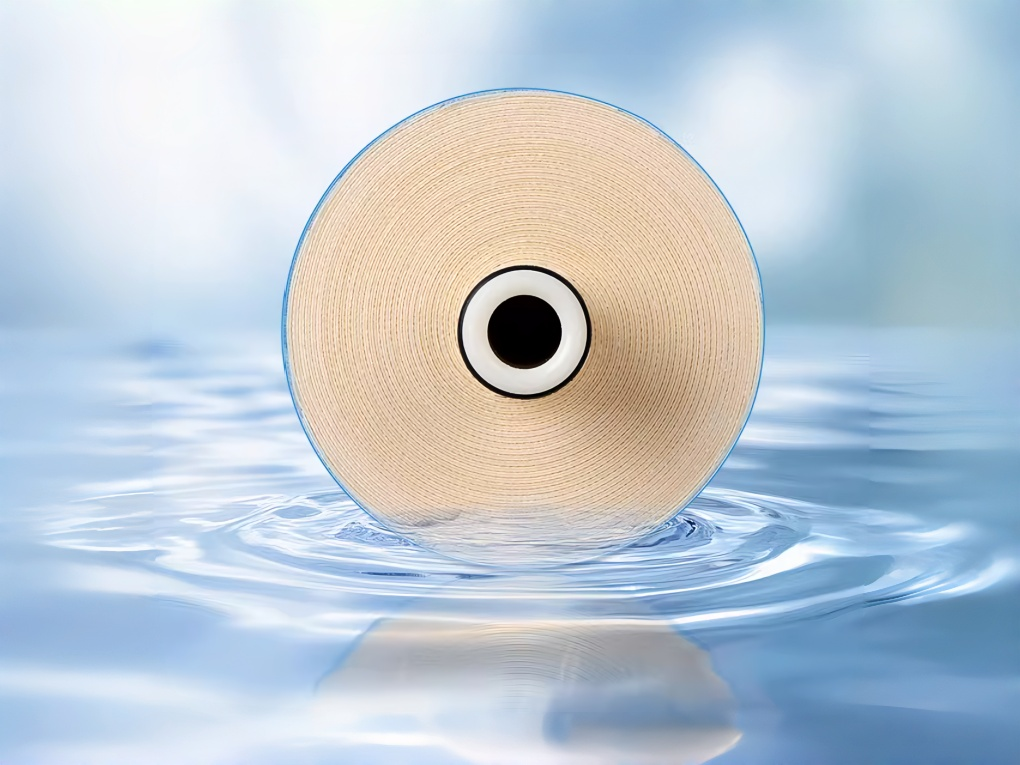
High-Efficiency Water-Saving Membrane
Optimized membrane structure
reduces wastewater ratio while
maintaining excellent filtration efficiency
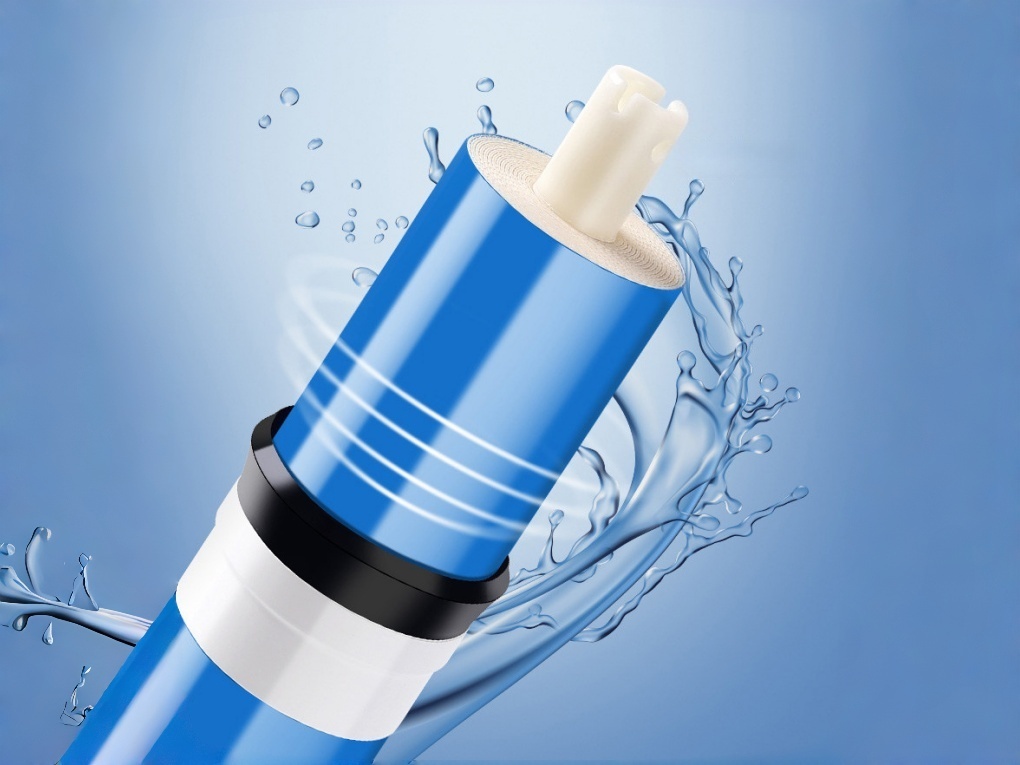
Stable Performance Under Low Pressure
Aromatic polyamide composite membrane
ensures stable water production
even under low water pressure conditions
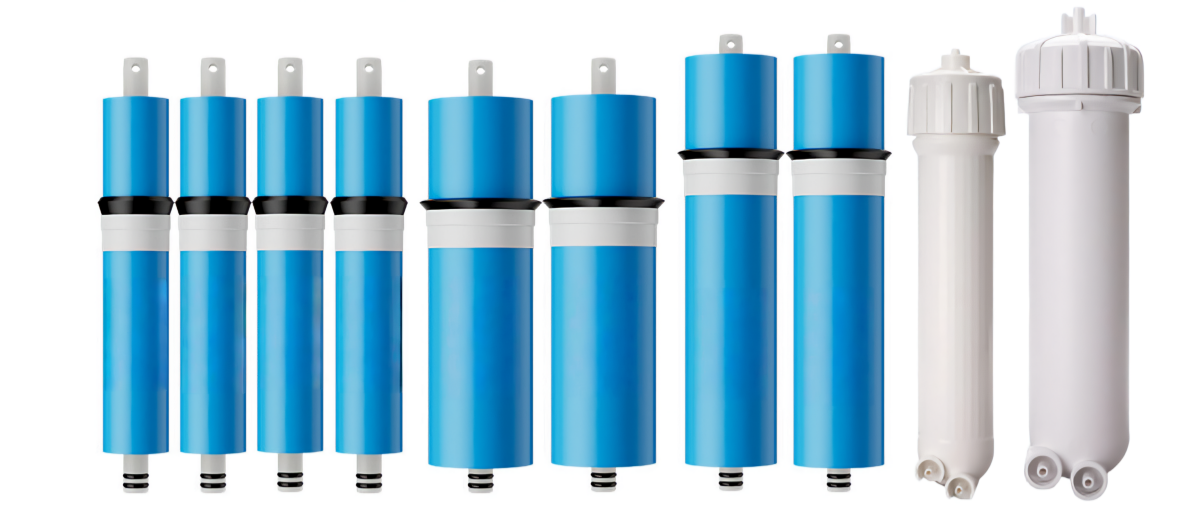
| Model | Water Capacity | Water Capacity | RO Membrane Size | Compatible Housing |
| 1812-50 | 50G | 7.8L/H | 46×298mm | 1812 Housing |
| 1812-75 | 75G | 11.7L/H | 45×298mm | 1812 Housing |
| 2012-100 | 100G | 15L/H | 47×298mm | 2012 Housing |
| 2012-125 | 125G | 19.6L/H | 48×298mm | 2012 Housing |
| 3012-400 | 400G | 63L/H | 73×298mm | 3012 Housing |
| 3013-400 | 400G | 63L/H | 68×333mm | 3013 Housing |
| 3012-600 | 600G | 94.5L/H | 73×298mm | 3012 Housing |
| 3013-600 | 600G | 94.5L/H | 68×333mm | 3013 Housing |
| Manufacturing Process | Dry membrane process, no vacuum sealing required | |||
| Membrane Pore Size | 0.0001 micron | |||
| Operating Temperature | 5~45℃ | |||
| Working Pressure | 0.3~0.8MPa | |||
| Flushing Required | The membrane should be flushed for approximately 15 minutes before use, and the produced water during this period should be discharged | |||
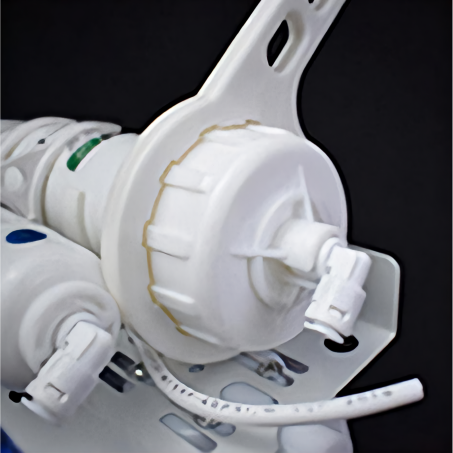
1. Loosen the housing cap with a wrench
2. Remove the old RO membrane
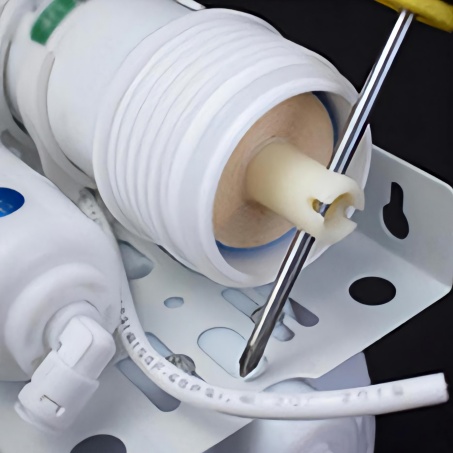
3. Rotate and pull out the membrane
4. Open the new RO membrane package
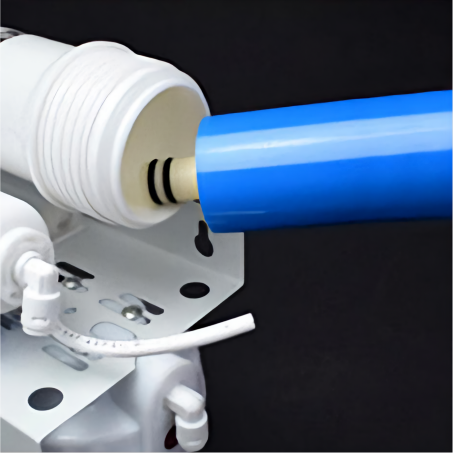
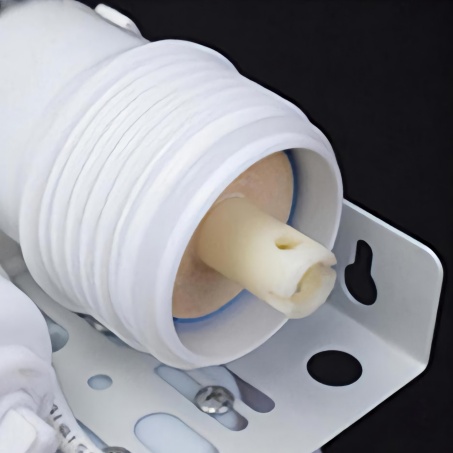
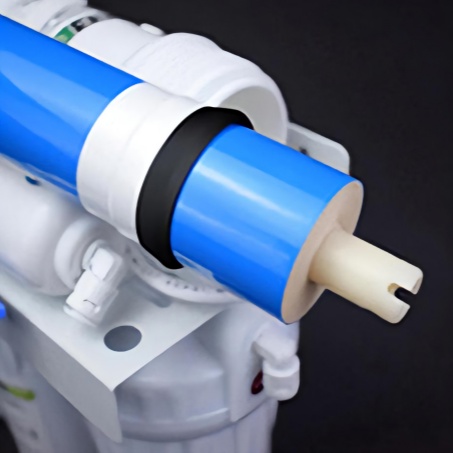
5. Insert the membrane with the double O-rings inward
6. Tighten the cap to complete installation
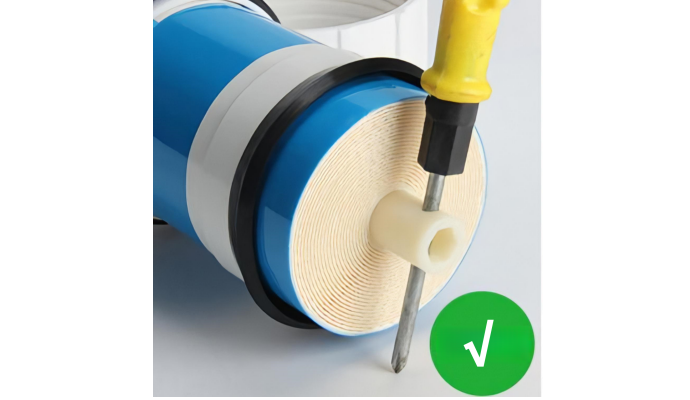
Figure 1
Correct removal method
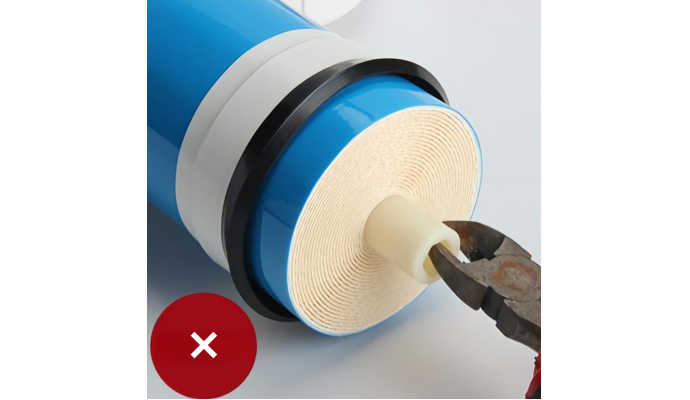
Figure 2
Incorrect removal method
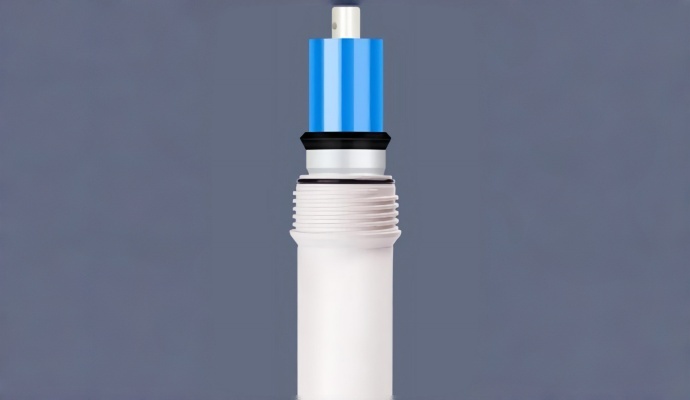
RO Membrane Installation
The side with the large sealing ring of the RO membrane should face outward
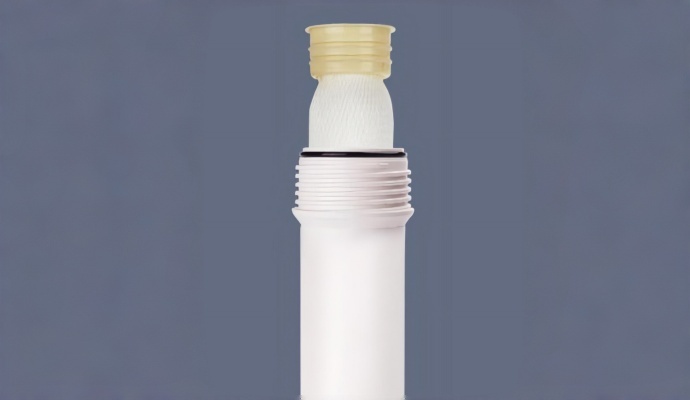
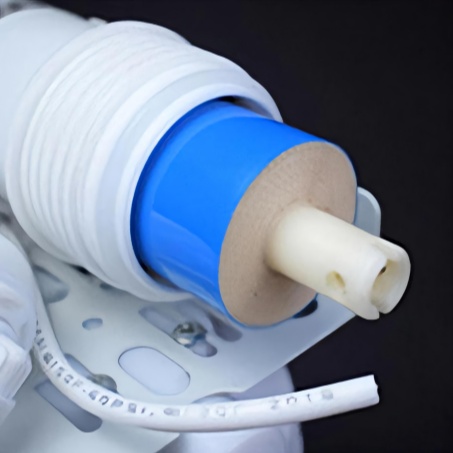
Ultrafiltration Membrane Installation
The flat-end side of the ultrafiltration membrane should face outward
Figure 1
Figure 2
3. Why does the TDS value remain high after one week of use?
This may be caused by poor sealing between the membrane and housing. Wrapping sealing tape around the double O-rings and reinstalling may solve the issue. If the TDS decreases, the housing may need replacement.
4. Why is the TDS value unstable?
A sudden drop in water temperature may affect the membrane seal due to thermal contraction. Soaking the O-ring in warm water and reinstalling it may help restore sealing performance.
5. Why is there no purified water unless the wastewater line is closed?
This is usually caused by insufficient pressure before the membrane, which may result from a faulty inlet solenoid valve, clogged pre-filters, or a weak booster pump.
6. Why does wastewater keep flowing after installing a new membrane?
Pressure changes inside the housing after membrane replacement may cause the check valve to malfunction. Replacing the check valve usually resolves the issue.
7. What is the wastewater ratio of an RO membrane?
Typically, the wastewater ratio of an RO membrane is about 2:1 to 3:1. The actual ratio depends on pump pressure, flow restrictor specifications, feed water flow, temperature, and filter condition.